

| User Menu > ACH Transfer |
ACH Transfer is a new User Menu item used that you can use to track your ACH Payments. Before you can run ACH, you must have some options in place. Let's go through those first.
To add ACH Transfer to your User Menu:
 from the home page.
 .
.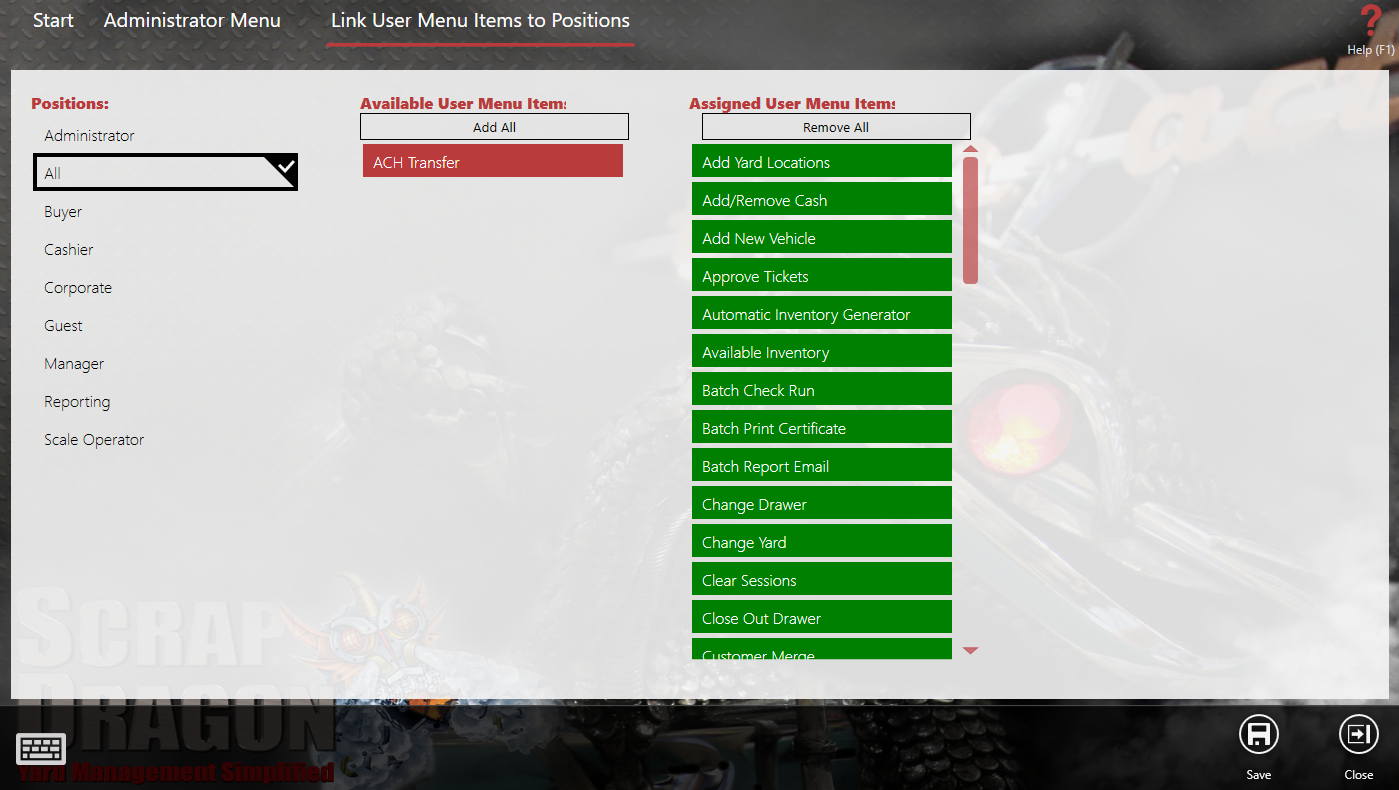
After you choose the position that needs access to this User Menu option, notice that ACH Transfer appears as available in your User menu items list.
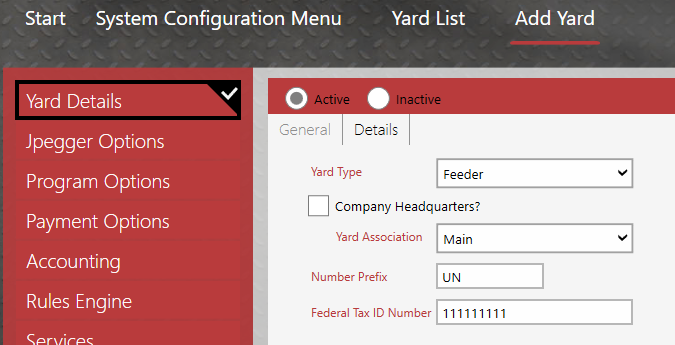
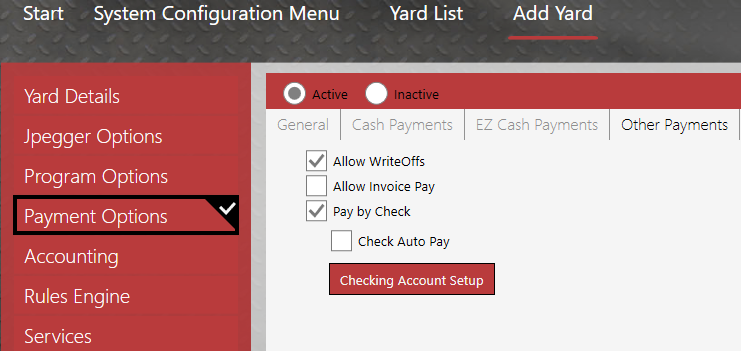
To set up your yard options:
 .
.
 .
.
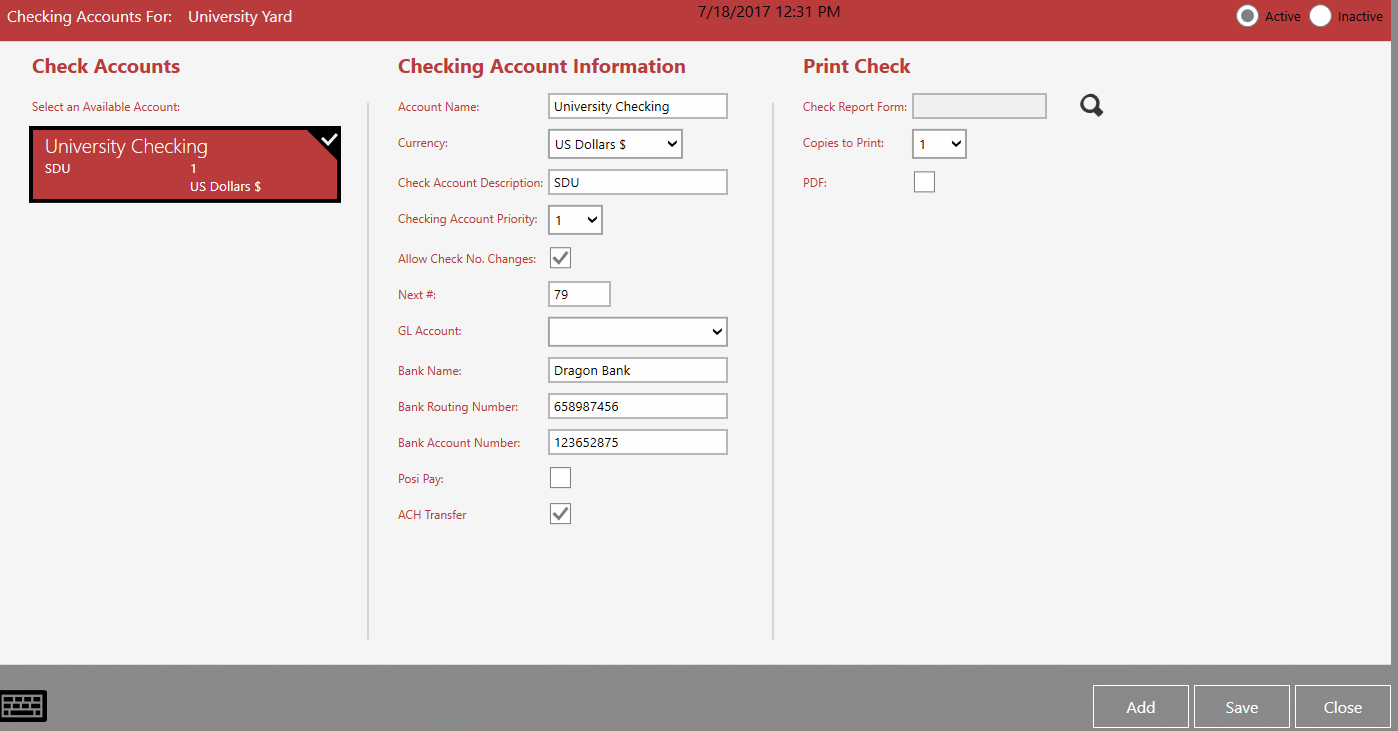
Note: The account that you set up here should be reserved to do payments as ACH transfers only.
To set up a Customer that is paid by ACH:

Now that we have all the settings in place, we can Run the ACH Transfer.
To Run the ACH Transfer:
 from the home page.
 (be sure you have permissions set up for this or you may not see it). And choose
  from the action Items.

Note: If the file is not going to be saved locally, you can set up the FTP information. After creating the file, you could send the file through FTP to the bank using the Output settings.
Note: You can check the Add Date Prefix to Filename checkbox to differentiate multiple files.
 .
.A log of the ach file creation will be under the last transfer in the Last Transfer column.