Settings and Login
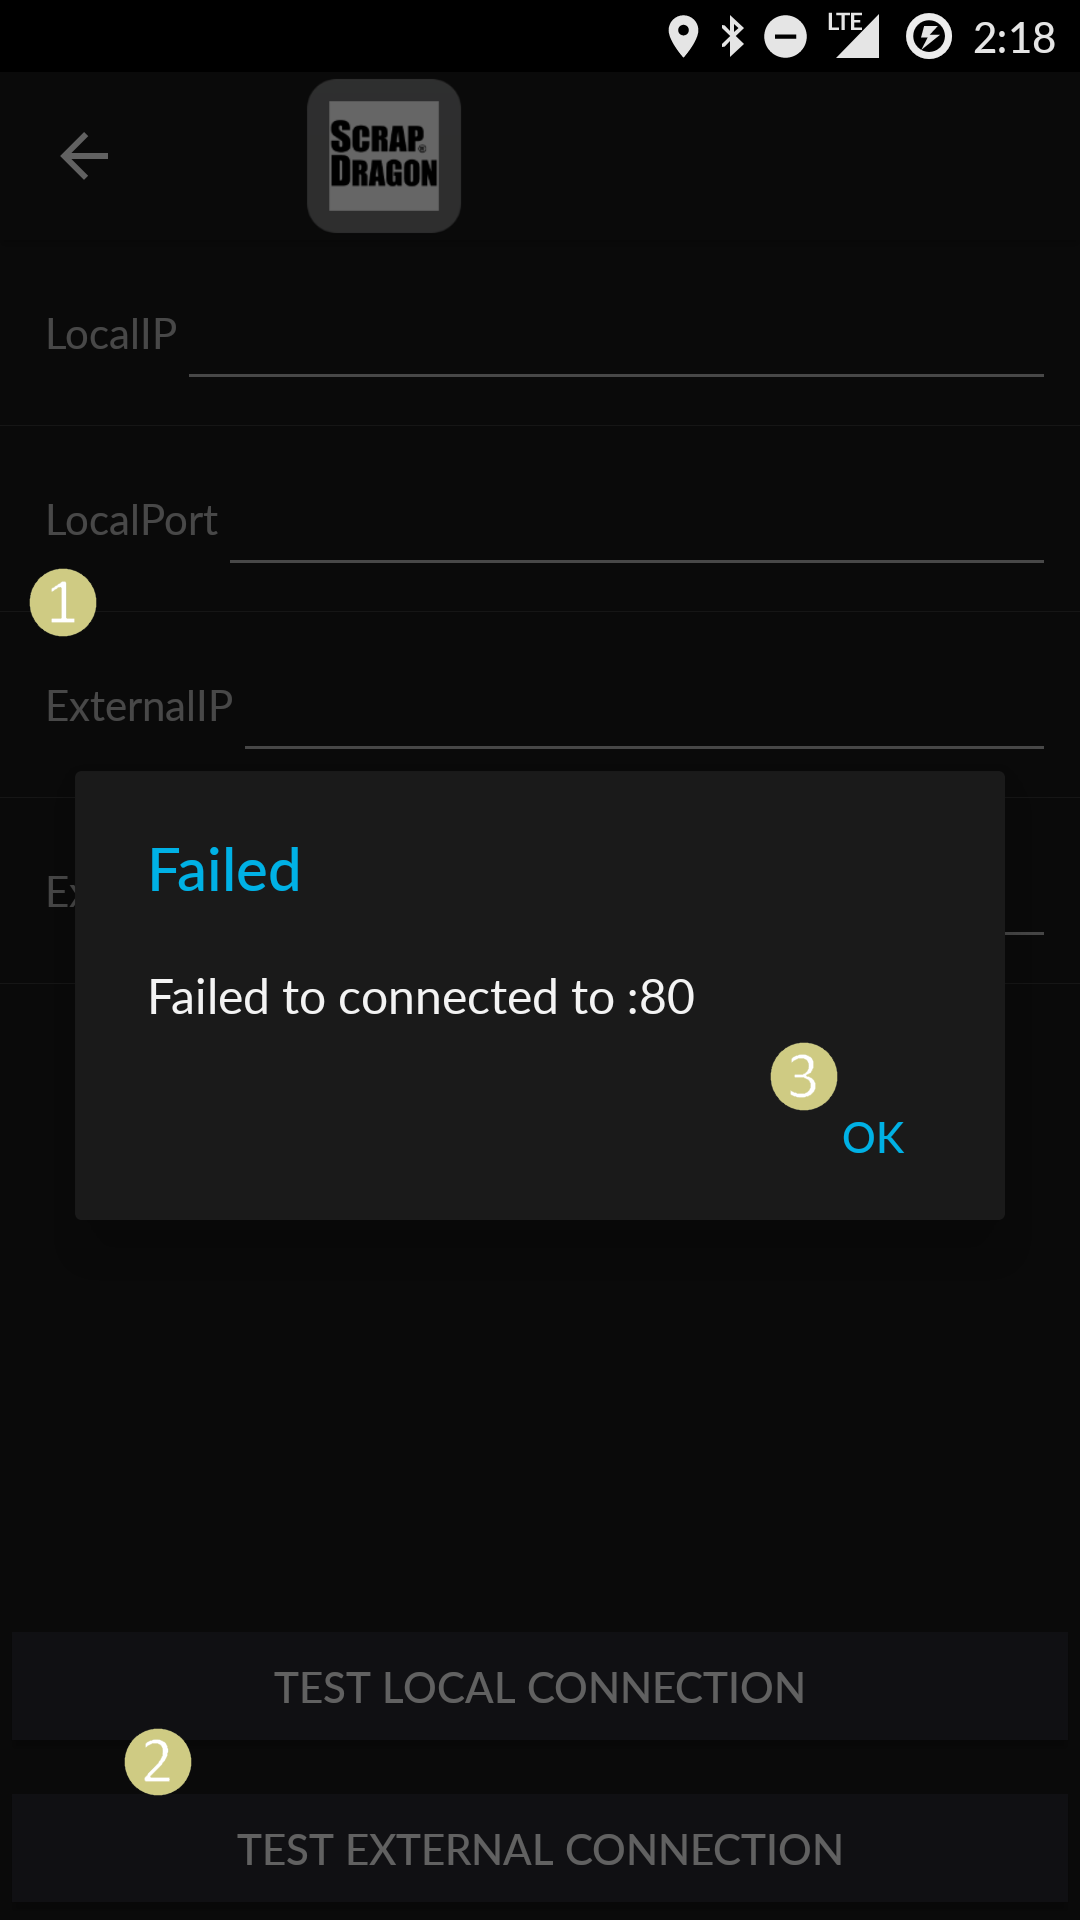
- From the ScrapDragon X – Dispatch mobile app home page, choose Connection Settings.
- Be sure to set your Local and External IP/Port information in order to be able to send and receive updates from Dispatch.
- To test the connection, choose either Test Local Connection or Test External Connection.
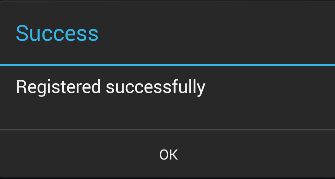
Note: If the connection and set and connected, it will show as Registered Successfully. If not, you will see a Failed message.
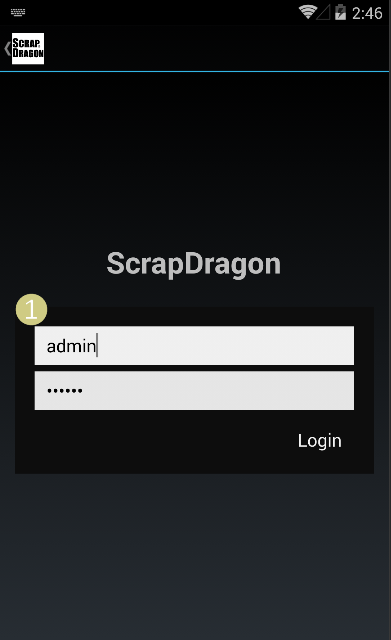
- From the home page, choose Login.
- Enter your Username and Password.
Trips and Sync
- You will see a numbered list of the trips that have been assigned to you.
- Select the trip that you would like to view or edit.
Note: The status of the trip will display here as well as Started, Planned, or Completed.
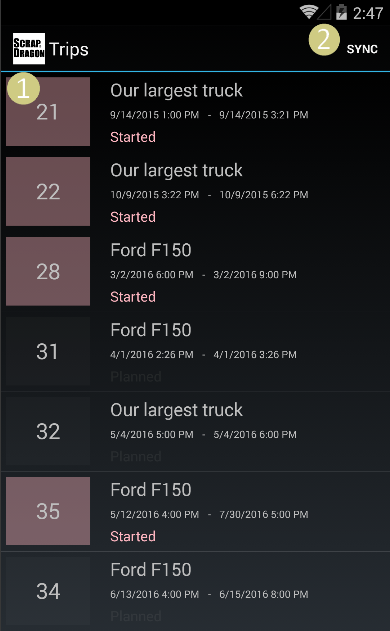
If you do not see your trip, or trip details:
- Select Sync at the top of the screen. You will see the various items that need to sync with the Dispatch server.
- There are two different types of Sync:
- Run Full Sync - if you would like to both get updated information from the Dispatch server and send information back.
- Run Database Sync – This will only update your screen with information from the Dispatch server. It will not send any new information that you have entered. If the items appear in green, then they have been recently synced and are up to date. Now you can go back to the trips page to see your updated information.
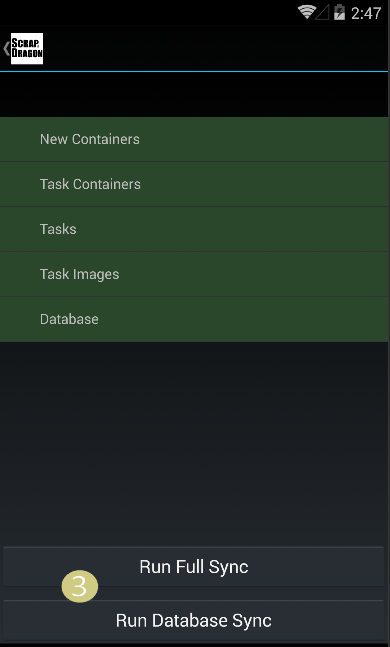
- If the items appear in green, then they have been recently synced and are up to date. Now you can go back to the trips page to see your updated information.
Tasks
- When you select a trip, you will see a list of tasks that have been set up for that trip. They will be listed as In Queue until you select the task. The task will automatically switch to a Started status once you select them.
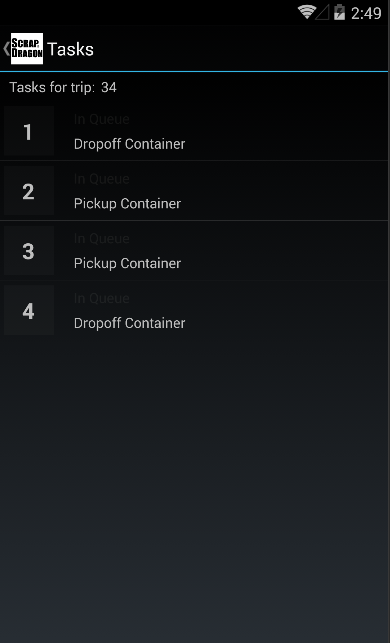
- When you select a task, you will be taken to the task page.
- You will see the status at the top of the screen. This is a drop-down box where you can select and change the status of the trip. a)
- To complete a trip, choose Complete.
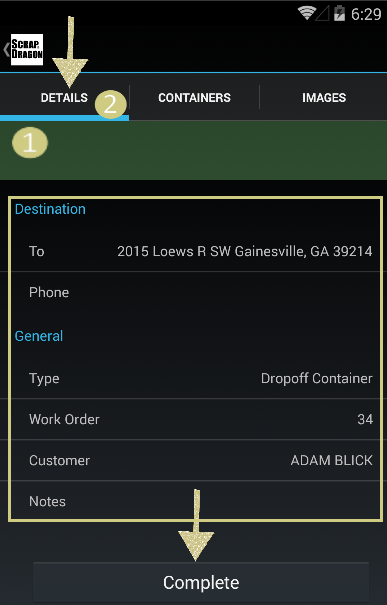
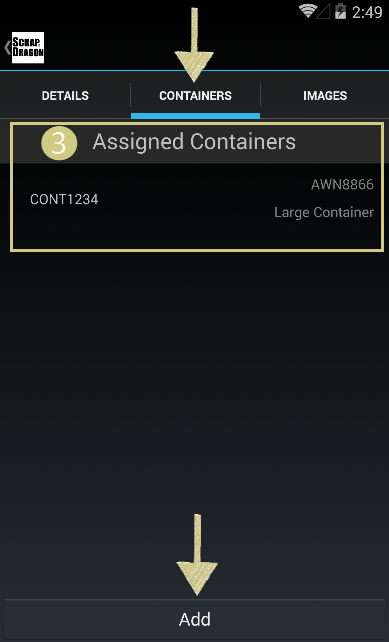
- There are 3 menus in each trip:
- Details – This menu will have all of the trip deatiled information including the Destination, trip Type, Work Order, etc.
- Containers – This menu is where you can view, update, and add containers to your trip.
- Choose Add to add a new container and enter it maually or scan the container.
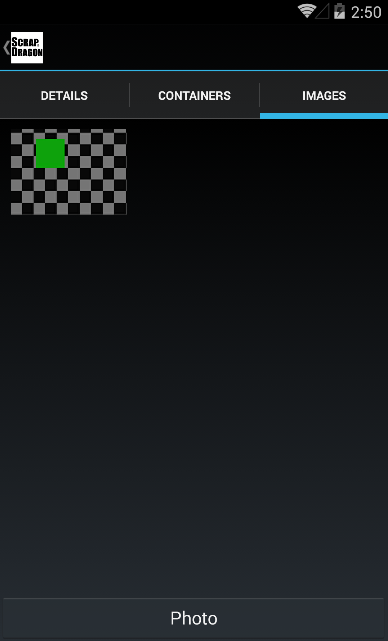
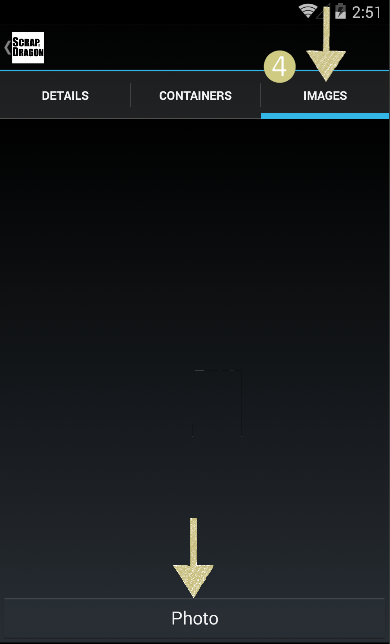
- Images – This is the menu where you can add images that are relevant to the trip.
- Choose Photo to add a new image.
Note: This data will only be saved locally to your device until you run a Full Sync. At that point, the data you have entered will be sent back to the Dispatch server.
See Also
DispatchMaster(Past)
DispatchProcessing(Past)


