Scrap Dealer Service provides access to the Do Not Buy database from Ohio Homeland Security.
Note: Some companies that sell may be exempt from this list as they already have a standing approval.
- Create a ticket from the Buy screen and select the customer as usual.
- When you choose customer, the system will automatically check the Ohio DPS database to see if the selected customer is on the DO NOT BUY list.
Note: If the process times out, close out of the ticket and start again.
- After the search runs, you will either see:
- A white bar at the bottom of the screen which shows the customer has passed the search.
- A dark grey bar which shows that the customer did not pass the search.
- In the case that the customer did not pass, you can:
- Continue – If you think that the information coming back does not accurately match the customer.
- Void – If you think the information is correct and you want to Void the ticket.
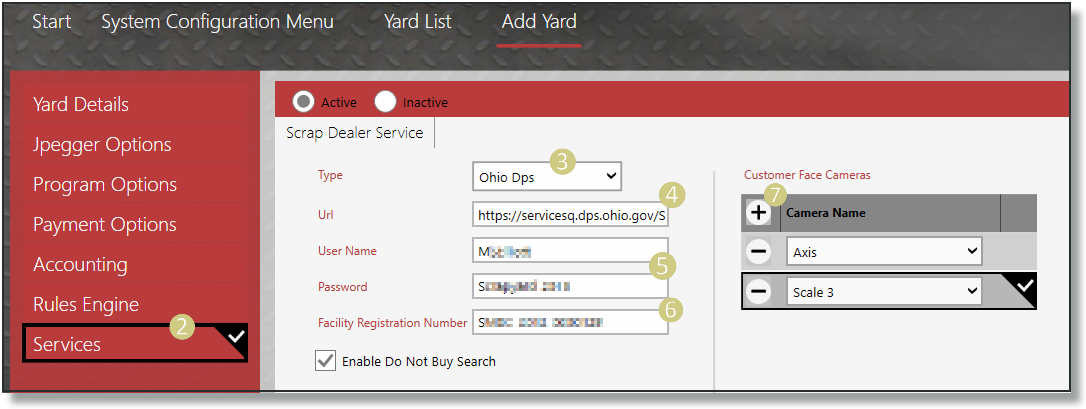
- From the System Configuration Menu, select Yard.
- Choose the Yard and select the Services menu.
- Select Ohio Dps from the Type drop-down.
- Enter the Ohip DPS web address into the Url field.
- Now, enter your specified UserName and Password.
- Type in your Facility Registration Number into the corresponding field.
- Last, use the to add the cameras that are customer facing. This will add the customer images to the database.
Note: Be sure to check the Enable Do Not Buy Search checkbox in order to allow this service to begin.

- To Submit a request outside of the buy screen:
- From the Home page, select User Menu.
- Now double-click Scrap Dealer Transfer from the menu (You must have permission to see this option).
- There are three pages on this screen:
- Current Transfer – This is where you can run Transfers by ticket number, receipt number, or date.
- Past Transfers – This is where you will see all past transfers (not including tests).
- Settings – This shows a read-only view of the settings that are set up in Yard> Services.
- You will also see your last transfer populate in the right column for reference.
- There are two ways to send a request to test customers outside of buy screen.
- Continue – If you think that the information coming back does not accurately match the customer.
- Void – If you think the information is correct and you want to Void the ticket.
- Submit a list:
- You can submit a list by first choosing an option from the drop-down menu (either by Receipt Number, Ticket Number, or Date).
- Then, enter in a Start Number and End Number. If you want to run a single ticket or receipt, use the same number in both Start and End.
- Now choose Submit Transfer
 from the Action Items.
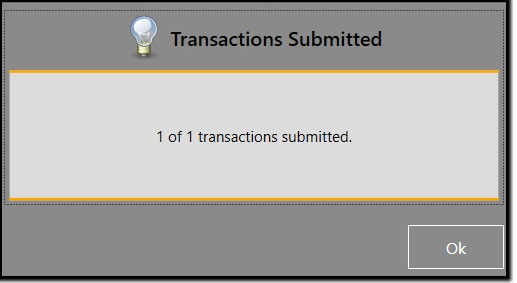
- You will see a message when the transfer is complete showing either a pass
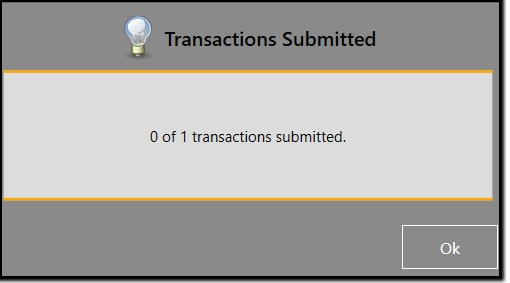
 or a failure
  .
.
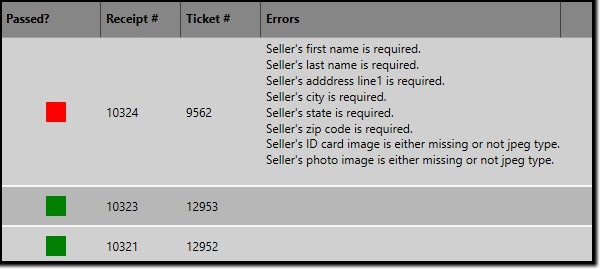
- Your submissions will be available to view in the Past Transfers screen. If it did not pass you can double-click on the failed transfer
 to see the details of the failed submission.
Ex: 
When the failed variables have been corrected:
- You can select the failed submission from the Past Transfers page and select the
 to resbmit your selection.
-
Submit a test list:
- You can submit a test list by first choosing an option from the drop-down menu (either by Receipt Number, Ticket Number, or Date).
- Then, enter in a Start Number and End Number. If you want to run a single ticket or receipt, use the same number in both Start and End.
- Now Choose Test Transfer
 from the Action Items.
- Test transfer results will automatically generate pop up with pass or fail information for each item.
Ex: 


 from the Action Items.
 or a failure
  .
. to see the details of the failed submission.

 to resbmit your selection.
 from the Action Items.