
| System Configuration > Yards > Add Yard |
When you add a yard, this screen is shown. There are five tabs on which you add information or make selections.
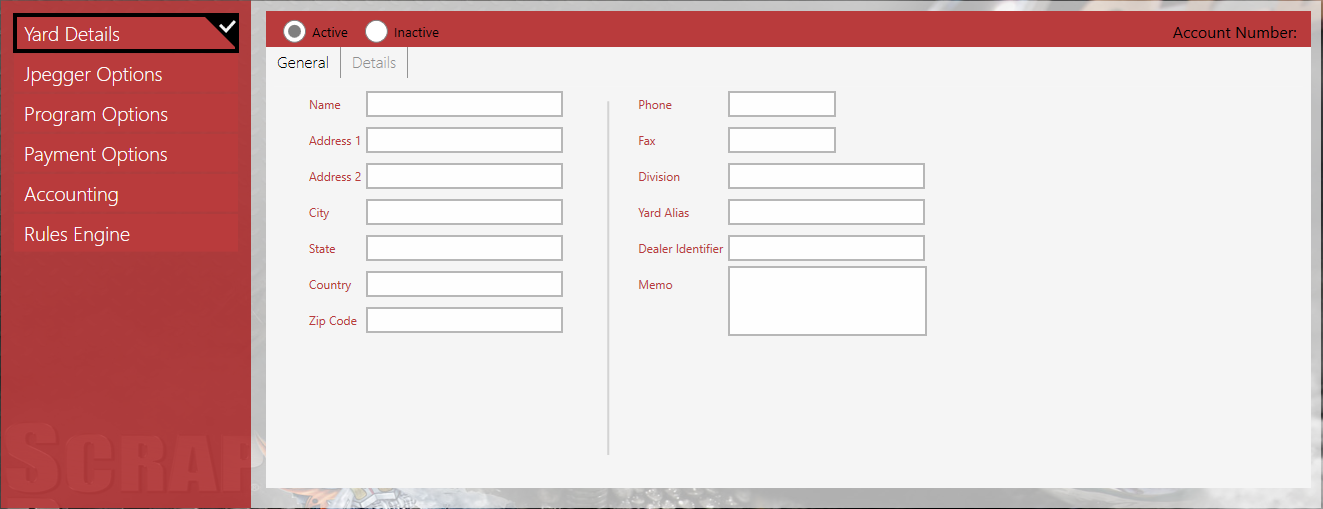
Add the yard information on the Yard Detail tab: name and address details, yard type, yard association.
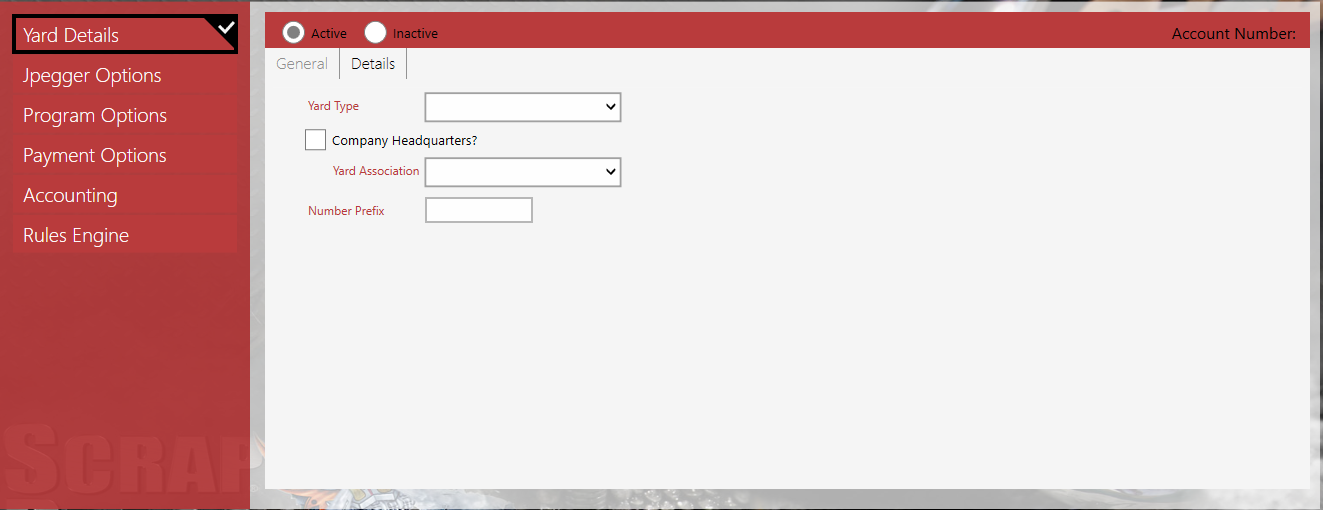
On the Yard Details tab, select the yard type, association and enter the number prefix and select the checkbox to choose this yard to be the company headquarters.
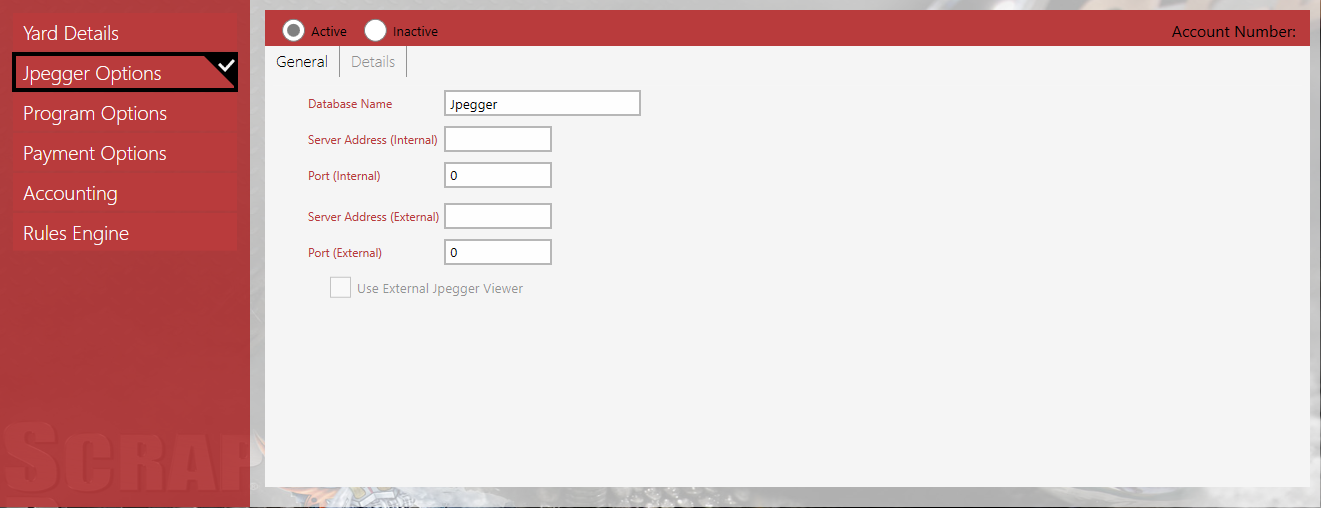
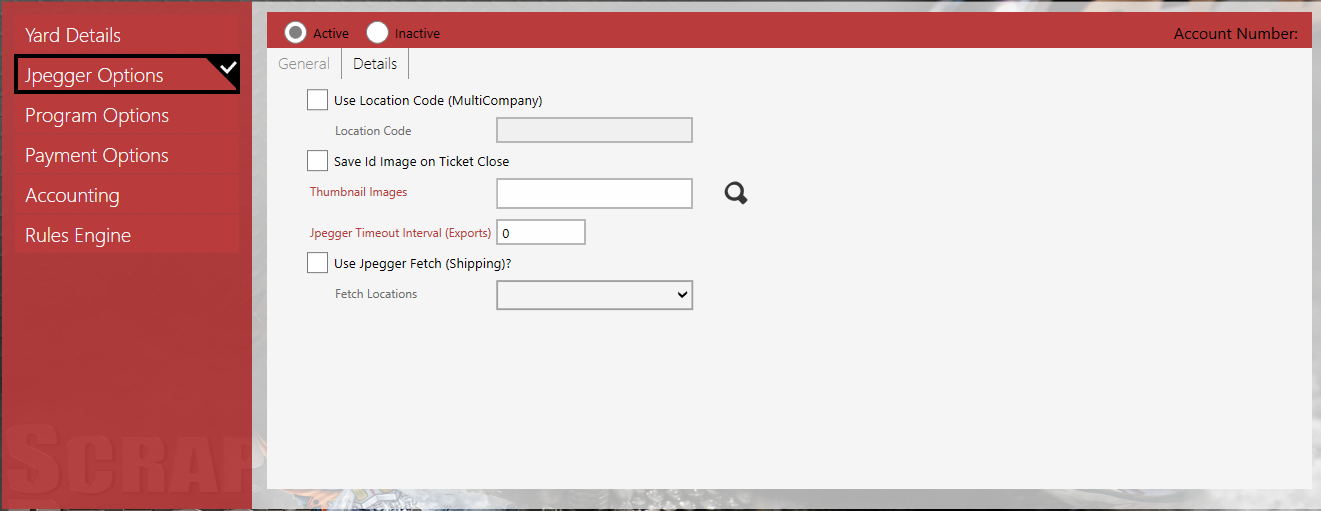
Set the Jpegger Options on this tab.
On the Details tab, select the Use Location Code (MultiCompany) checkbox, if applicable and enter the location code. If you wish to save the ID image when a ticket is closed, select the checkbox and browse to the folder to keep them. Select the Jpegger Timeout Interval (Exports) checkbox. Select the User Jpegger Fetch (Shipping) and select the Fetch locations.
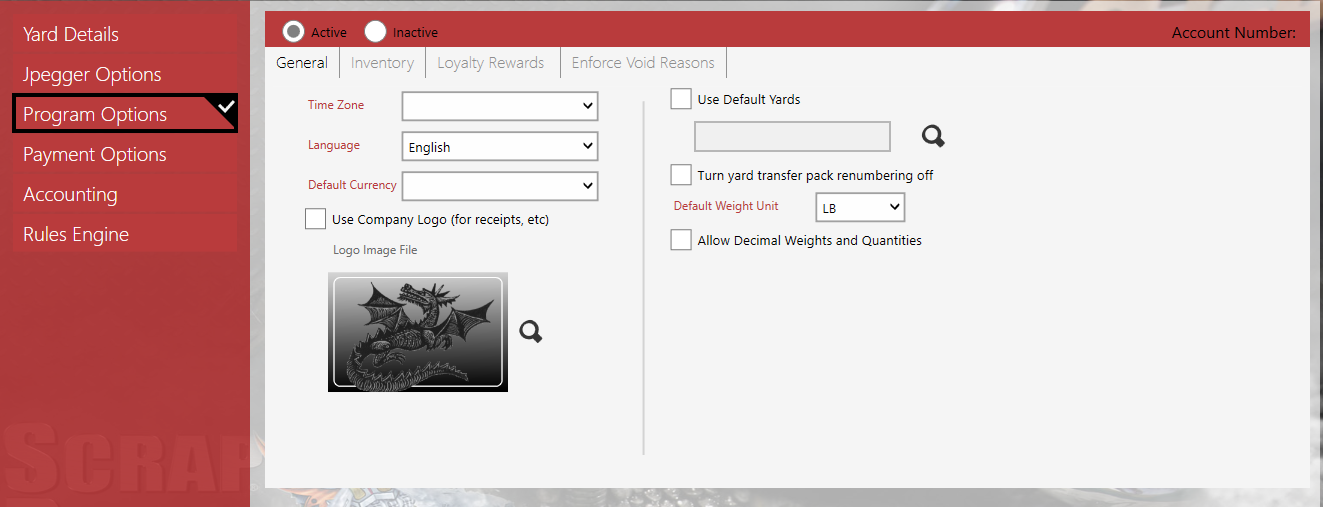
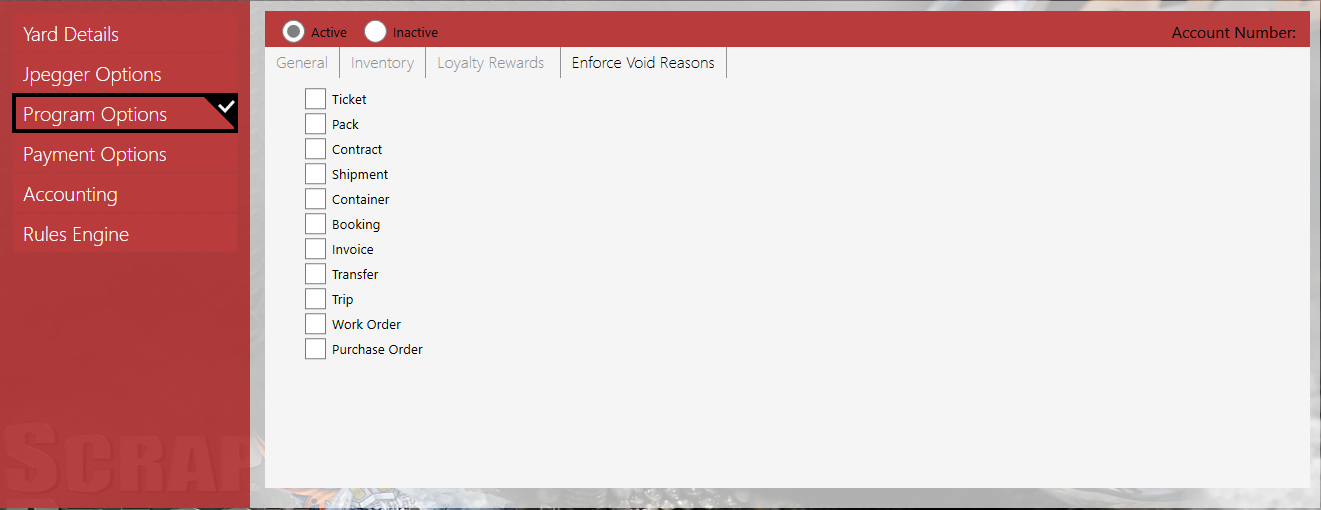
The Program Options tab allows you to specify defaults, and details about inventory, loyalty rewards and to enforce void reasons.
On the General tab, select the time zone, language and default currency. To use a company logo on receipts, select the company logo and the checkbox. Select the Use Default Yards and select the yard. Select the checkbox to turn of yard transfer pack numbering and select the weight units. Select the Allow Decimal Weights and Quantities to allow it.
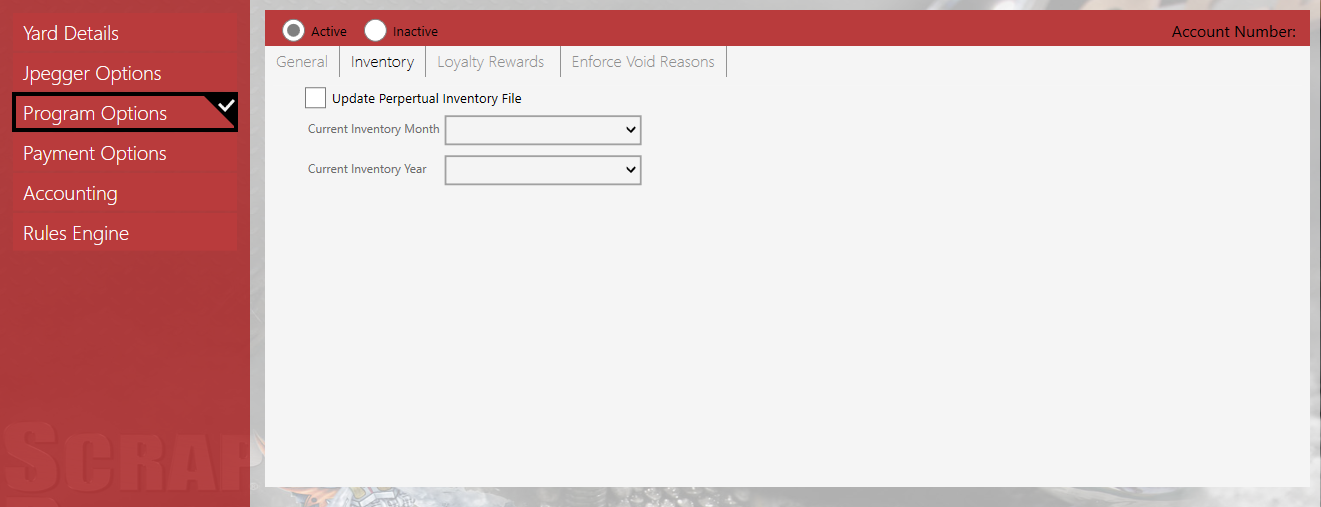
On the Inventory Tab, select the checkbox to update the perpetual inventory file. Select the current inventory month and year from the drop downs.
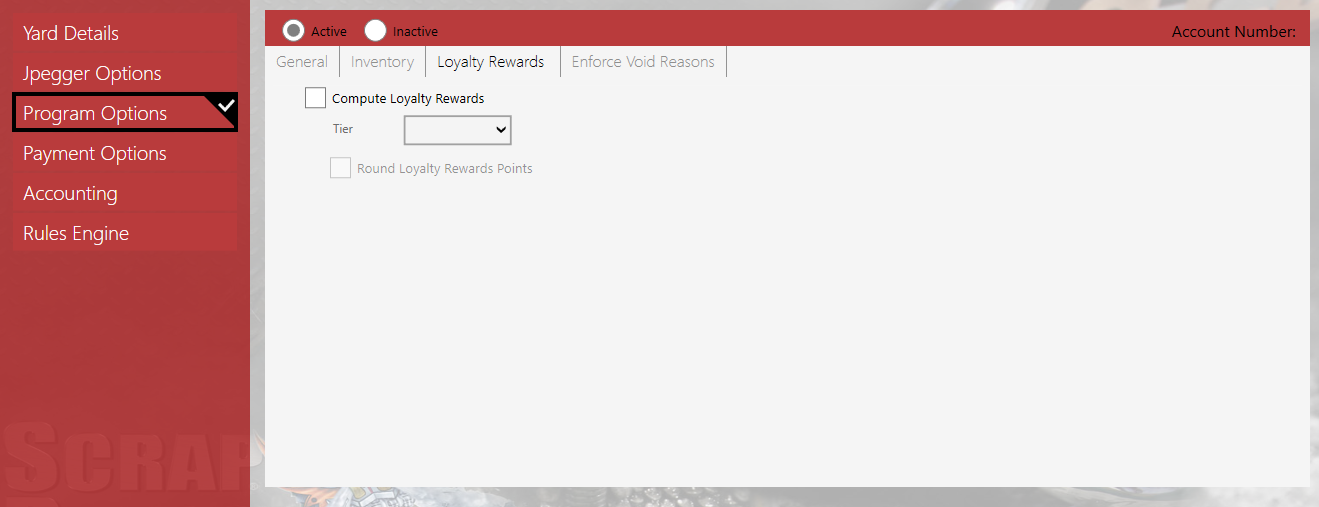
Set up the Loyalty Rewards by selecting the checkbox and selecting a tier from the drop down list. If you wish to round loyalty rewards points, select the checkbox.
To enforce void reasons, select the appropriate checkboxes.
Specify the Payment Options by choosing the customer default for pay method from the dropdown. Select the Display A/P Balance checkbox and Display Daily Cash Payment checkbox.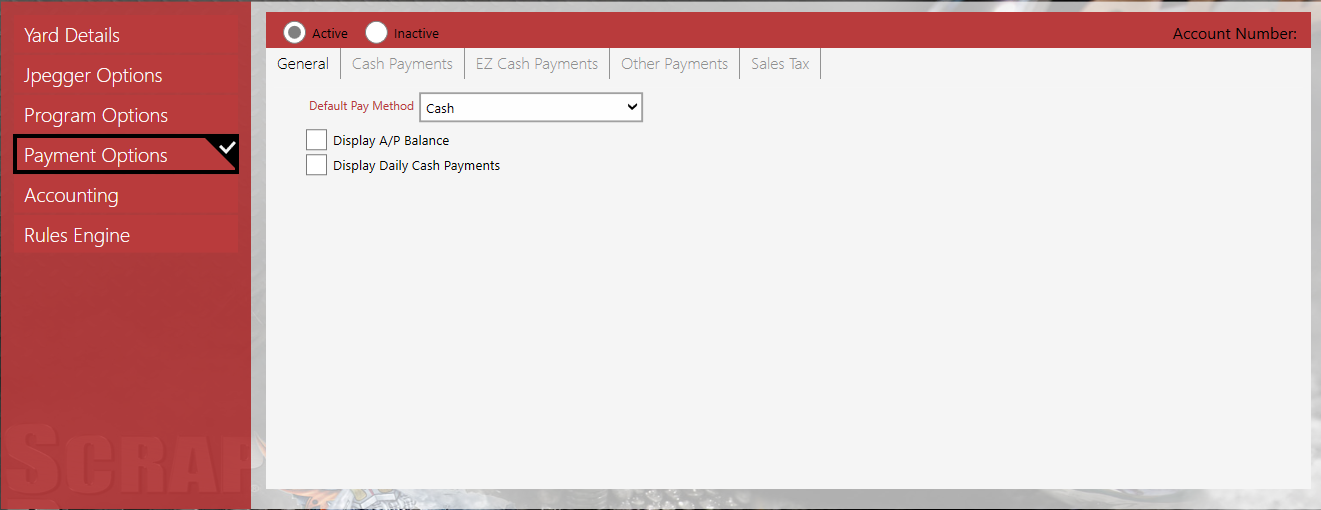
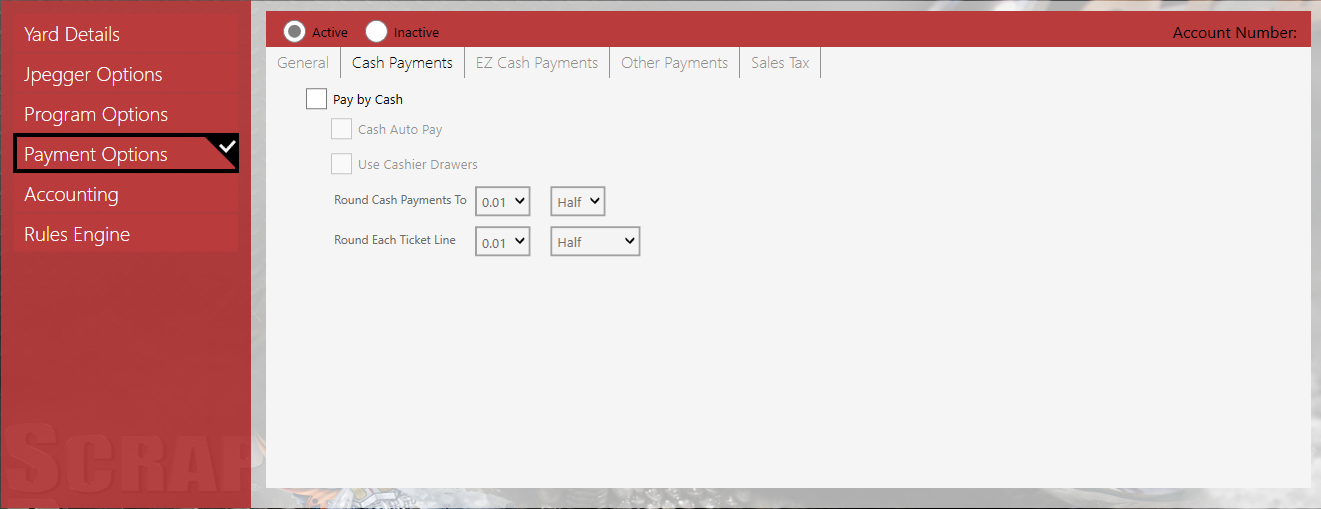
Specify the Cash Payments options by choosing the pay by cash, cash auto pay, use cashier drawers checkboxes. Then select the rounding options.
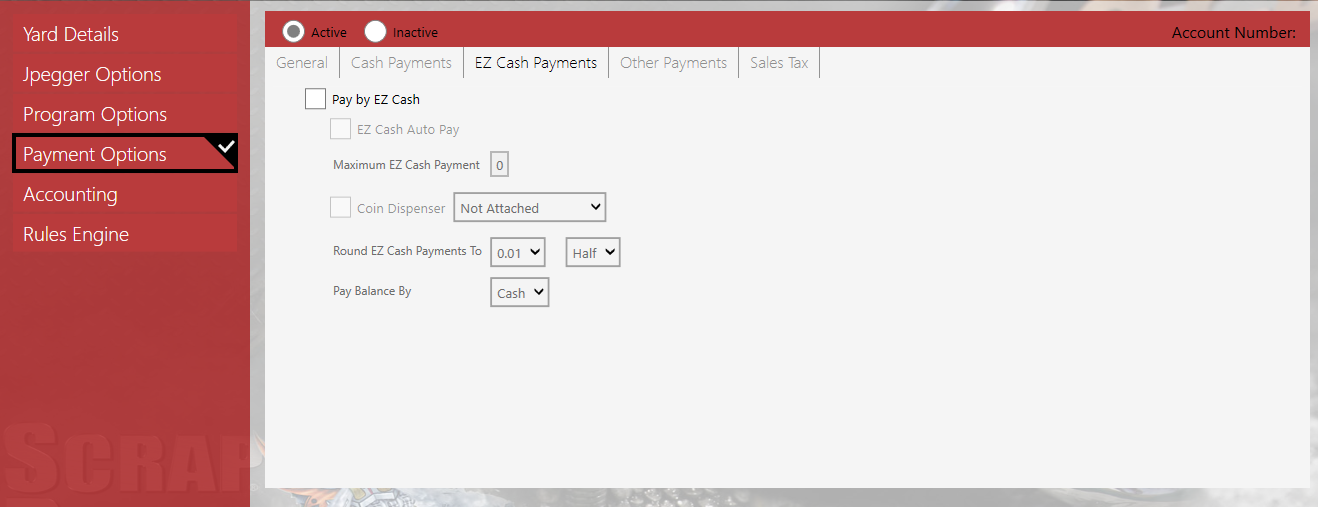
Specify the EZ Cash Payments. Select the Pay by EZ Cash and EZ Cash Auto Pay checkboxes. Set the Maximum EZ Cash Payment. For the Cash Dispenser, select the checkbox and the dispenser from the dropdown. Set the rounding option and Pay Balance by options.
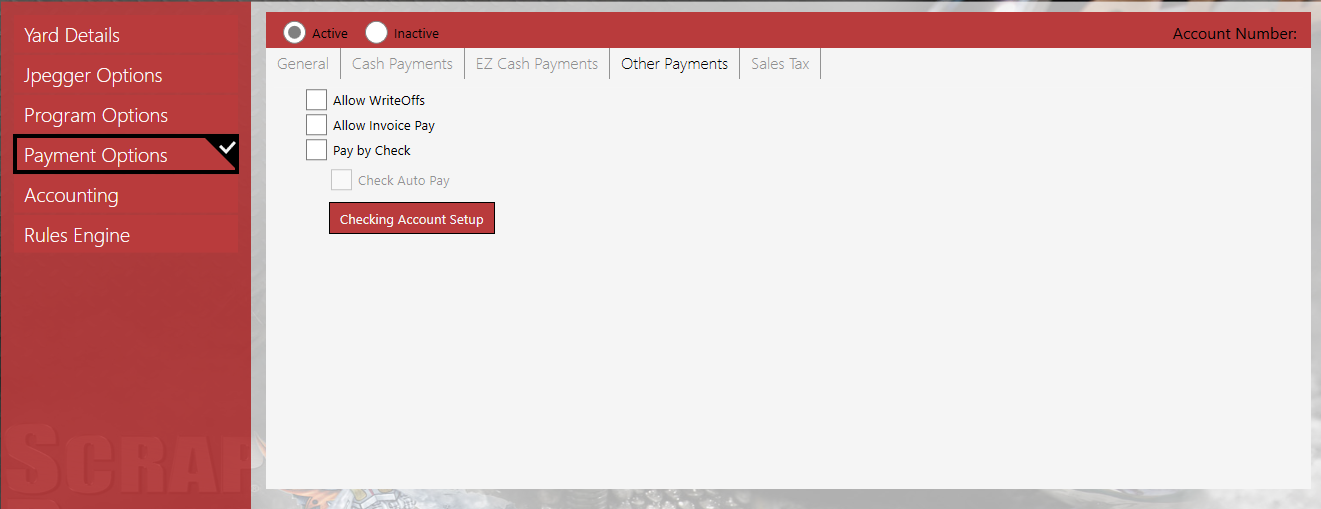
Specify the Other Payment Options by selecting the Allow WriteOffs, Allow Invoice Pay, Pay by Check and Check Auto Pay checkboxes. Set up the checking account for these payments.
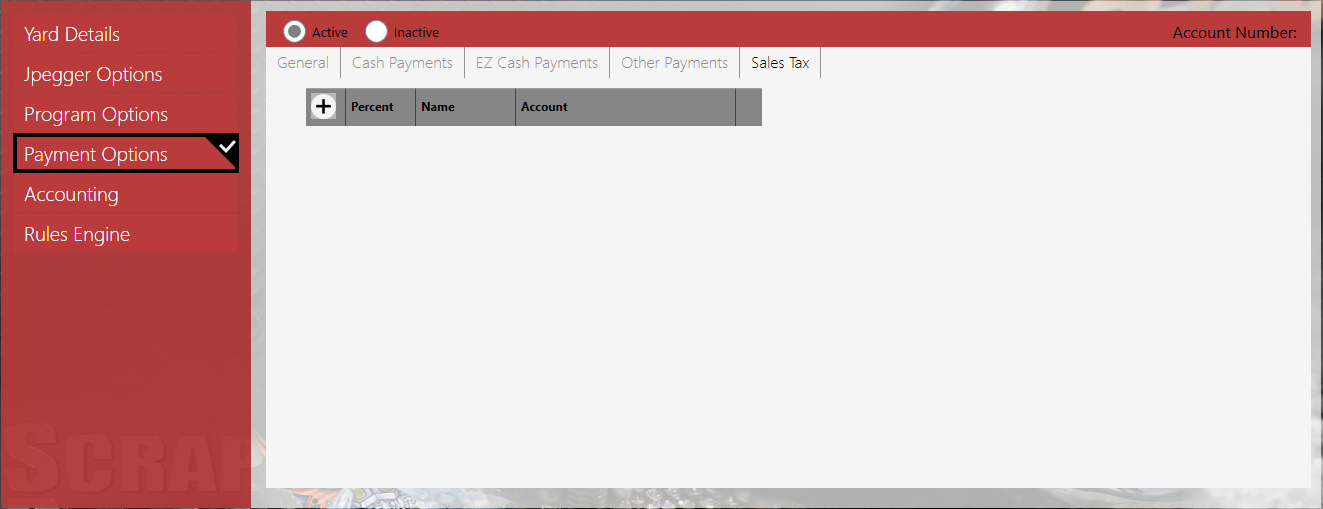
Set the sales tax rates.
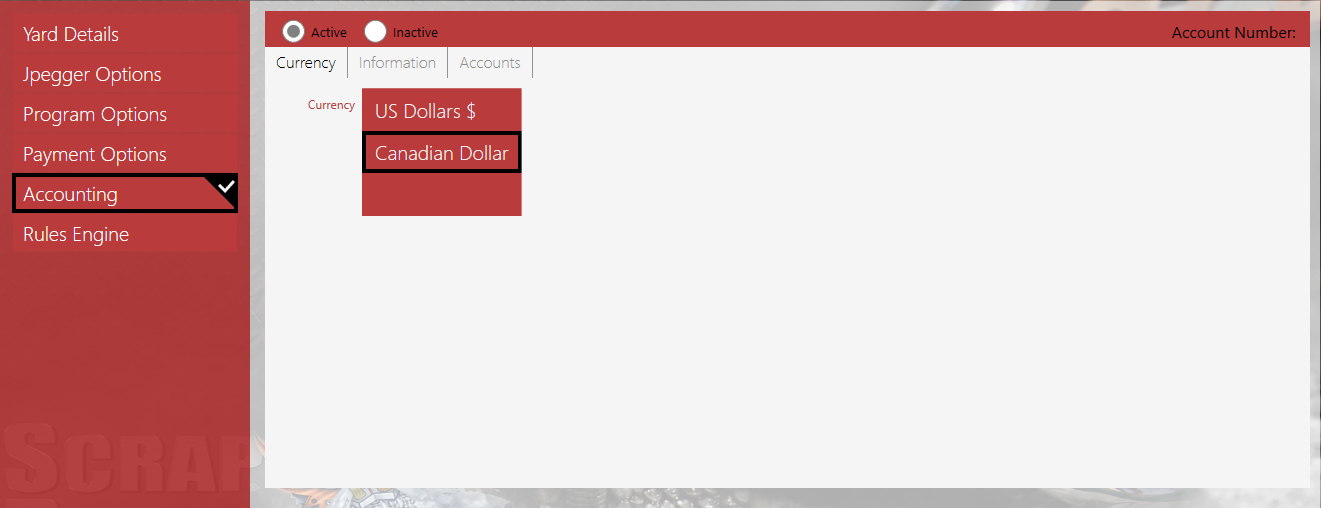
Select the currency.
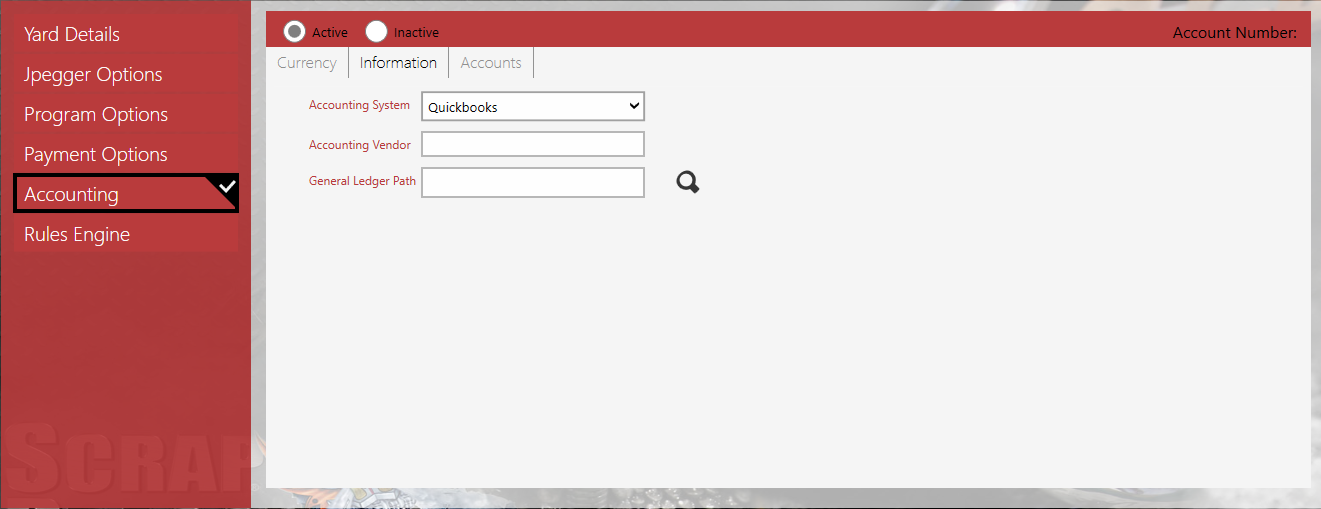
On the Informatoin tab, select the Accounting System from the dropdown. Add the Accounting Vendor and browse to the General Ledger Path.
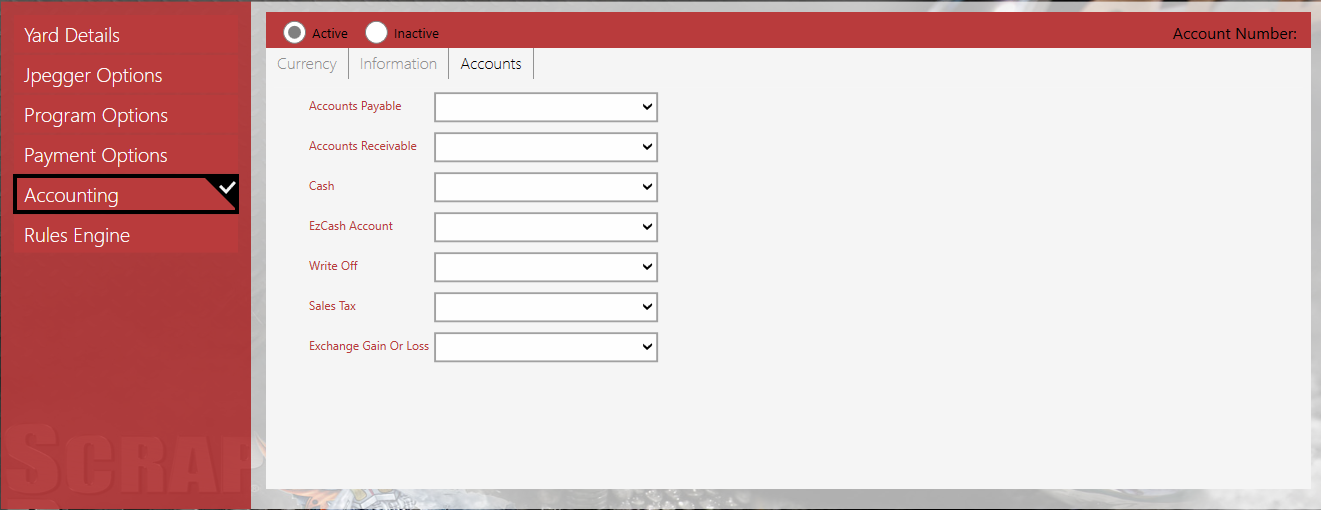
On the Accounts tab, selecft the account numbersfrom the dropdowns.
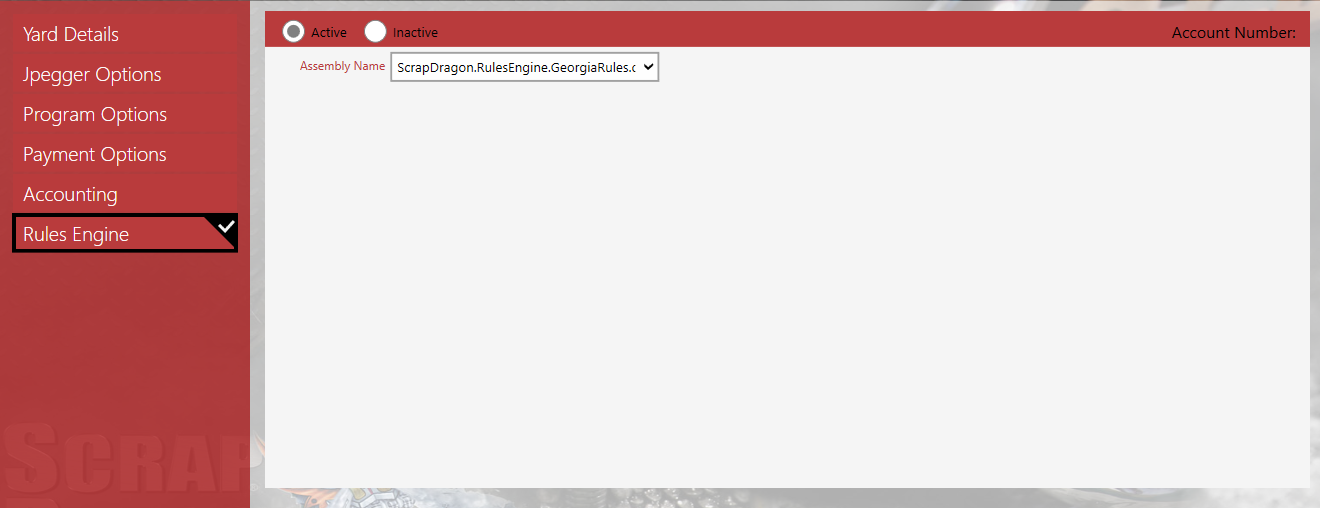
The Rules Engine tab shows the currently selected rules DLL.
