

| Admin > Setting Up Security |
To see our video on Setting up Security, click this icon. 
When setting up your yard, it is important to keep security in mind.
Scrap Dragon allows you to set up restrictions in two ways:
In this course, we’ll discuss adding restrictions to the user.
We will look at:
A large part of the Admin security will already be set up for you. The positions will have the roles and user menu options associated with it. So we’ll take a look at what is already set up and if you do need to make changes, how to do that. Once everything is set up correctly, you will add a new User, and assign a position to that user.
Security is set up in the menu.
For example the Scale Operator position would include all of your users that work operating the scale.
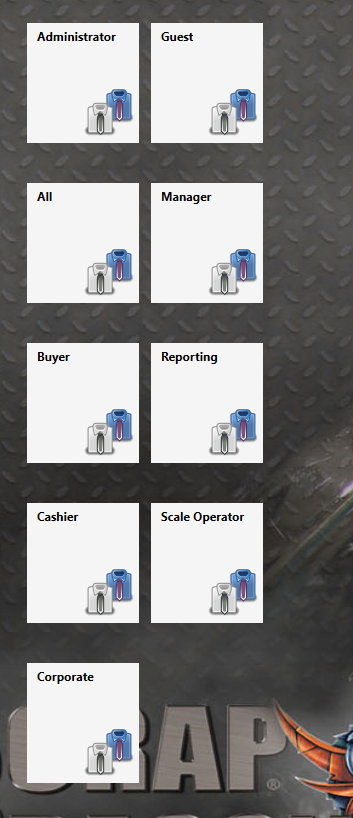
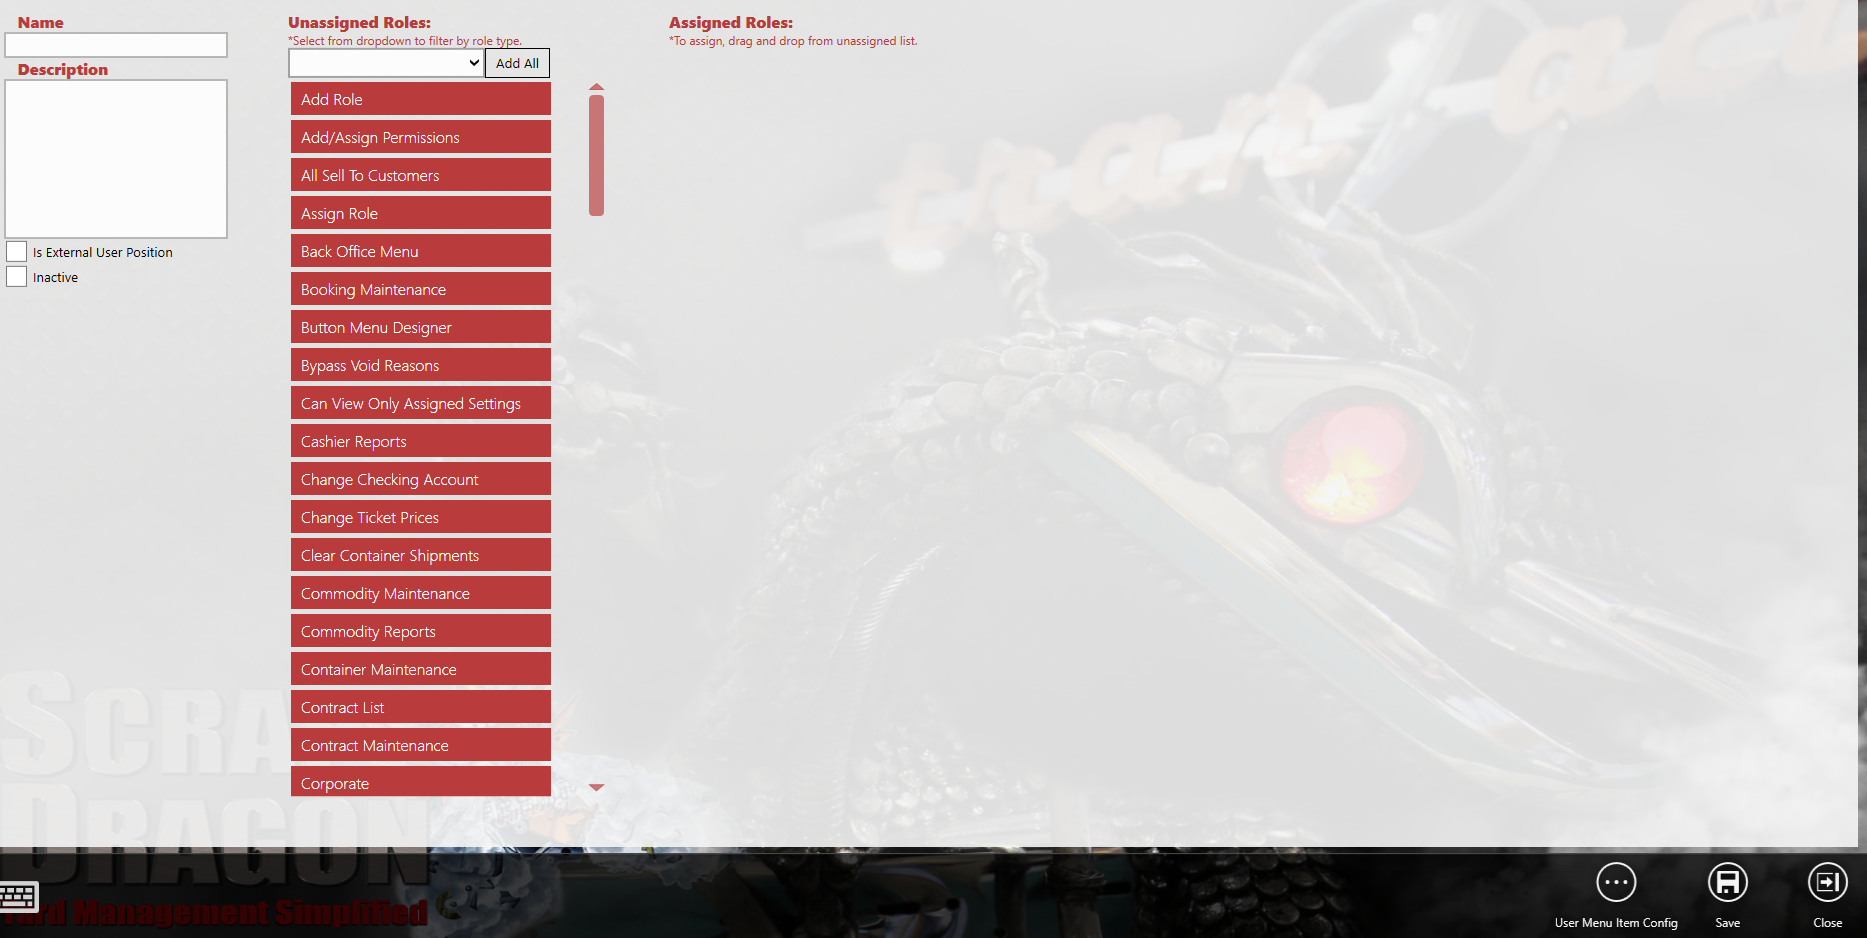
Roles can be accessed from the menu.
From the menu, you can see a list of the various predefined roles that are currently set up in Scrap Dragon. Each role is displayed as a tile. Roles are groups of clearances that you will assign to a certain position.
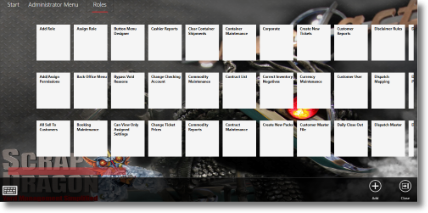
Admin>Roles |
Let's take a look at the User Menu. You can access the from the home page by pressing the User Menu tile.
If you are editing a position you can use the User Menu Item Config Action Item to edit and assign the User Menu items that will display for that position. 
You can also edit and assign User Menu items for specific positions from the User Menu tile on the main Administrator menu. 
Some menu options may not be available if the user doesn’t have permissions through their positions clearances or if the workstation, through the Local Computer settings, does not have the clearance to view it. The user menu is a collection of secure processes in ScrapDragon. Depending on your position, you may not need access to all of these. These are linked to the position that you are assign to a User.
The User Menu is where you set up the user’s toolbox, which is a list of programs that each user may need to perform their tasks. User defined tasks can be added to the User Menu to give yard operators quick access to their most used tasks. Select an item and touch Run User Menu Item to launch the task.
The User Menu items are defined in security. Those shown for your yard may be different than those shown here. For example, one operator may have cash related items while another operator may not.
| Button | Description |
 |
Run User Menu Item opens the selected item. For example, if Add New Vehicle is selected, a screen opens where you can enter the details about a new vehicle. You can also double click the User Menu Item tile to run the User Menu Item
|
 |
Edit Menu Item allows you to change the location of that item in the user menu. Save any changes and close the screen.
|
 |
Lock locks the Scrap Dragon application. Enter a password to open it.
|
 |
Close the current module/screen. |
Note: Once you link your User Menu items to the positions, you won’t have to do it again. You might need to make some updates in the future, but for the most part this is a one time set up and now you can just add your Users and assign them to a position.
First we'll discuss how to establish a new user in the system. Then we’ll get into how to assign positions.
From the Admin Menu:
 .
.
Note: You can use the search function or press Show All current users so as not to create a duplicate.
 .
.
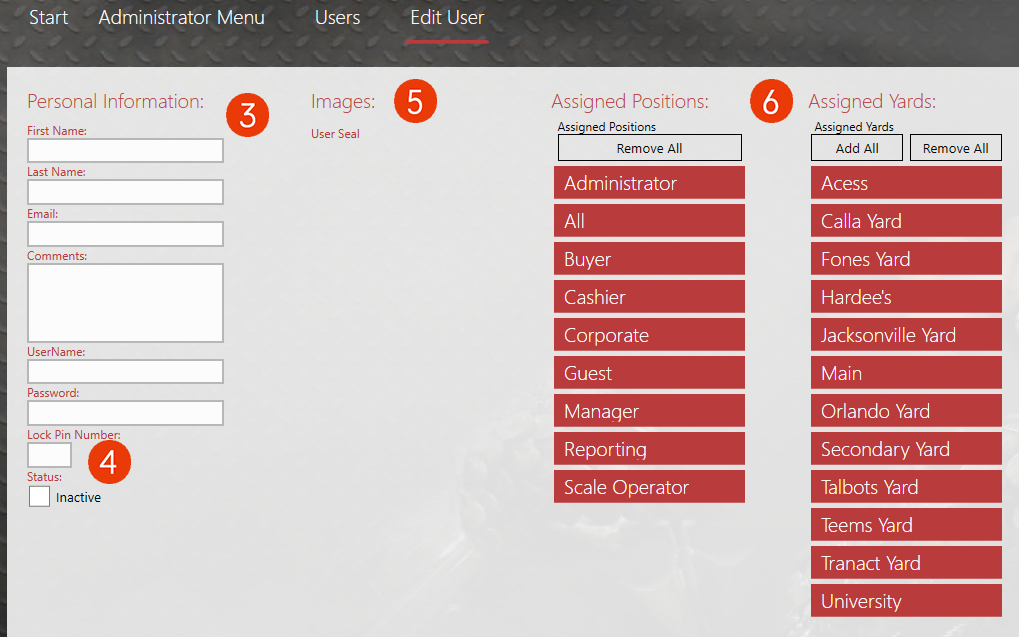
Now we need to assign Positions and Yards to the User.
Note: You can have a user assigned to multiple positions at multiple yards if need be. If there is a Cashier that works at more than one yard, you would select the Cashier position and then double-click any of the yards that they need to be assigned to.

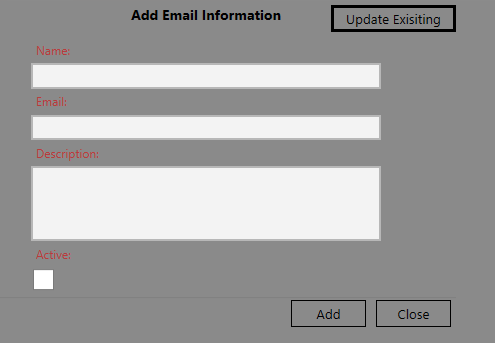
Now your user is set up with proper security and is ready to get to work!